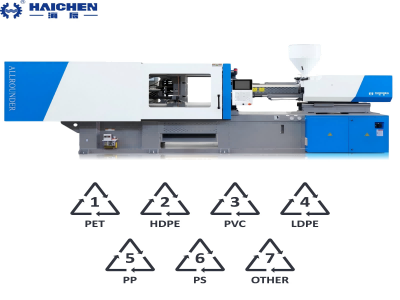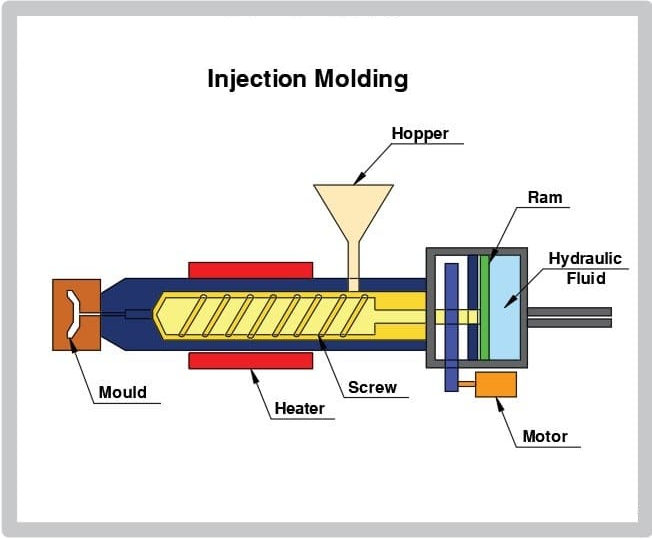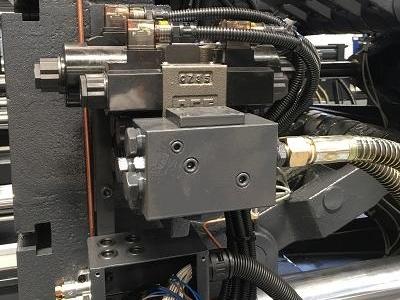
The injection molding machine emergency stop function helps operators respond when machine activity creates an immediate safety risk. It allows them to request an emergency stop, while the machine’s safety system carries out the response defined by its design.
However, an emergency stop test involves more than pressing a button. The operator must understand the expected machine response, check the reset process, and follow the manufacturer’s instructions. In addition, the factory must control hazardous energy whenever a task exposes people to dangerous movement or electrical, hydraulic, or pneumatic hazards.
This guide explains how to prepare for an emergency stop test, check its main functions, identify common problems, and record the results. It also covers safety checks for production cells that use robots and other auxiliary equipment.
Safety note: This article provides general information. It does not replace the machine manual, a workplace risk assessment, or an approved safety procedure. Never bypass a safety circuit or expose people to hazardous movement to complete a test.
How Does an Injection Molding Machine Emergency Stop Work?
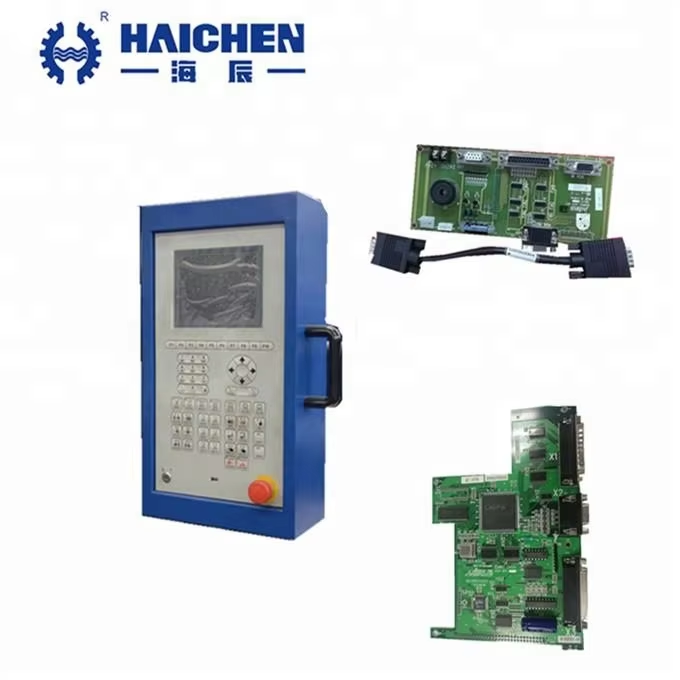
An emergency stop function allows a person to request an emergency stop when normal machine operation creates an immediate risk.
An injection molding machine can contain several sources of danger. For example, mold movement, ejector movement, screw rotation, injection movement, hydraulic systems, and connected robots can all create hazards.
Therefore, the machine’s safety system must respond according to its documented design. The manufacturer defines the expected response for each model because different machines use different drive systems, controls, and safety circuits.
Where Are Emergency Stop Buttons Located?
The location depends on the machine design.
Manufacturers commonly place emergency stop buttons on the main operator panel and at other accessible positions around the machine. In addition, an automated production cell may have separate emergency stop devices for robots, conveyors, and auxiliary equipment.
Before testing, check the machine manual and identify every device included in the inspection. Do not assume that every injection molding machine has the same number of buttons or the same layout.
What Does an Injection Molding Machine Emergency Stop Do?
An emergency stop tells the machine’s safety system to enter its defined stopped condition.
Depending on the design, the system may stop certain movements, remove selected drive commands, or activate other measures to control the hazard.
However, pressing an emergency stop does not necessarily remove every source of electrical or mechanical energy. Some control or diagnostic functions may remain active, while other energy sources may need separate isolation.
For this reason, compare the machine’s behavior with the manufacturer’s instructions rather than assuming that every machine follows the same sequence.
Emergency Stop vs. Main Power Isolation
An emergency stop and a main power isolator serve different purposes.
The emergency stop helps an operator respond to an immediate hazard during operation. In contrast, a power isolator disconnects energy sources as part of an approved energy-control procedure.
Pressing the emergency stop does not prove that electrical, hydraulic, pneumatic, or stored energy has been removed.
Therefore, never treat an emergency stop as permission to enter a hazardous area or begin maintenance work.
Emergency Stop vs. Safety Door Interlock
A safety door interlock controls machine behavior when a guard or door changes state. However, it serves a different purpose from the emergency stop function.
Both devices may form part of the machine’s overall safety system. Nevertheless, each function needs its own check under the relevant machine instructions.
Do not use an emergency stop test as a substitute for checking the safety door interlocks.

Before Testing an Injection Molding Machine Emergency Stop
Good preparation helps the technician understand the expected result and reduces the risk of unexpected movement.
Check the Manufacturer’s Instructions
First, locate the machine manual and review the manufacturer’s emergency stop test procedure.
Confirm which devices need testing and what response the machine should produce. Also, identify any connected robot, conveyor, or auxiliary equipment covered by the same safety plan.
If the procedure is missing, or if someone has modified the machine, contact the machine manufacturer or a qualified safety technician before proceeding.
Prepare a Safe Test Area
Next, place the machine in the condition specified by the approved test procedure.
Remove tools and loose materials from the work area. Then make sure that everyone stays outside hazardous spaces, including the mold area and the robot’s movement range.
Do not start a test while someone works inside the machine or near moving components. In addition, never defeat a guard or safety interlock to make the test easier.
Review Lockout/Tagout Requirements
Some inspection tasks require the team to isolate hazardous energy. However, certain functional tests require power so the technician can observe the machine’s response.
The correct procedure depends on the task and the machine. Therefore, follow the factory’s energy-control process and the rules that apply to your location.
In the United States, OSHA explains that when personnel must temporarily restore power to test or position a machine during servicing, they must first clear tools and materials, remove people from the hazard area, and follow the prescribed energy-control sequence. After the test, they must de-energize the machine and reapply the required energy-control measures before continuing the service work. See OSHA’s guidance on testing machines.
Inspect the Emergency Stop Button
Before the functional test, inspect each emergency stop device.
Look for visible damage, loose mounting, blocked access, or other obvious problems. Also, check whether stored materials or nearby equipment hide the button.
If you find damage or suspect a fault, do not rely on the device. Instead, report the issue and ask qualified personnel to inspect and repair it before the machine returns to normal service.

How to Test an Injection Molding Machine Emergency Stop
The following steps explain the main points to check during a routine functional test. However, the manufacturer’s procedure always takes priority because each machine may use a different safety design.
Step 1: Identify Each Emergency Stop Device
First, use the machine manual or drawing to identify every emergency stop device included in the inspection.
Record each location so the technician can check the devices one at a time under the approved procedure. Also, identify any separate emergency stop devices on connected robots or auxiliary equipment.
Step 2: Prepare the Machine for the Approved Test
Next, place the machine in the condition required by the manufacturer’s instructions.
Keep all personnel outside hazardous areas. Make sure nobody reaches into the mold or works near moving components.
If the procedure requires a particular guard or operating mode, follow the documented instructions. Never bypass a safety device to make the machine respond.
Step 3: Activate the Emergency Stop as Directed
An authorized person should activate the emergency stop according to the manufacturer’s procedure.
Observe the machine from a safe position. Do not approach moving equipment or reach into the mold area to check whether it has stopped.
The purpose is to confirm that the device triggers the intended response. Therefore, do not judge every machine against an invented universal stop time.
Step 4: Verify the Intended Stop Response
Compare the machine’s behavior with the response described in the manual.
Depending on the design, the emergency stop may stop defined movements, remove selected drive commands, or place the controls in an emergency-stop state.
Some machines may keep status indicators and diagnostic displays active. For this reason, check the documented response instead of assuming that every power source must shut down.
If the machine fails to respond as specified, stop the test and report the fault.
Step 5: Check the Machine Status and Fault Display
After activation, check the control panel for an emergency stop status or related alarm.
Record the displayed information when the inspection procedure requires it. In addition, note any unusual behavior that may help the maintenance team investigate an intermittent problem.
Do not clear a safety fault simply to continue production. First, confirm the cause and make sure the machine meets the required conditions for safe operation.
Step 6: Verify the Reset Function
After the stop test, follow the manufacturer’s reset procedure.
The operator may need to release or reset the emergency stop device before the control system returns to a ready state. However, resetting the device should not itself start hazardous machine movement.
If the reset does not work as expected, stop the procedure and ask qualified personnel to investigate the problem.
Step 7: Confirm the Restart Behavior
Next, verify that resetting the emergency stop does not cause an unexpected restart.
The machine should return to the state defined by its safety design. A separate start command may be necessary before production can resume.
Because restart logic differs between machines, follow the manufacturer’s instructions rather than applying one rule to every model.
Step 8: Record the Test Result
Finally, record the test according to the factory’s inspection procedure.
A useful record can include:
- Machine identification and location
- Test date and time
- Person carrying out the test
- Emergency stop device location
- Expected response
- Observed response
- Pass or fail status
- Fault details
- Corrective action
- Name of the person who approved the machine for use
These records help the factory track repeated problems and confirm that personnel completed the inspection.
How to Check Emergency Stop Functions in a Robot-Integrated Production Cell

An injection molding production cell may include a robot, conveyor, trimming equipment, and other auxiliary devices. Therefore, testing the injection molding machine alone may not verify the safety of the complete system.
Review the Machine-Robot Safety Interface
First, confirm how the machine and robot exchange safety-related signals.
EUROMAP provides recommendations for interfaces between injection molding machines and robots. The correct interface depends on the equipment and its design. You can review the EUROMAP technical recommendations.
However, a communication link for process data does not automatically provide a safety-rated emergency stop function. The integration team must verify the safety functions using the documentation for the actual equipment.
Check the Response of Connected Equipment
Next, review the approved safety design to understand how the robot and other devices should respond when someone activates an emergency stop.
For example, the system may need to stop a conveyor as well as certain robot movements. However, different devices may follow different defined responses.
Therefore, do not assume that pressing one button always cuts power to every device in the production cell. Ask the qualified integrator to verify the complete system against the approved plan.
Never Bypass Safety Wiring to Simulate a Fault
Do not short contactor lines, disconnect safety circuit wires, or defeat safety devices as a routine test.
Such actions can create unexpected movement or remove the protection that the safety system provides. If formal safety validation requires fault-injection testing, qualified personnel must follow an approved engineering procedure with suitable protective measures.
If a normal functional test reveals a possible problem, stop using the affected equipment and arrange a proper technical inspection instead.
Common Injection Molding Machine Emergency Stop Problems
The Machine Does Not Respond as Designed
A damaged button, loose connection, controller fault, or safety circuit problem may explain the unexpected response.
Do not try to fix the problem by bypassing a device. Instead, stop the equipment, follow the site procedure, and ask a qualified technician to inspect the system.
The Emergency Stop Does Not Reset
The device may remain in the emergency-stop state because the operator has not released it correctly, another safety condition remains active, or the controller has detected a fault.
First, check the machine instructions and displayed messages. If the cause remains unclear, contact the maintenance team.
The Machine Restarts Unexpectedly
Treat unexpected restart behavior as a serious safety issue.
Keep the equipment out of service until qualified personnel identify the cause and verify the restart behavior against the manufacturer’s safety design.
Do not repeat the test while anyone remains exposed to hazardous movement.
The Robot or Auxiliary Equipment Does Not Respond as Expected
An integrated production cell may use a separate safety design for the robot and its peripheral equipment.
If one device does not respond as expected, stop the commissioning or inspection process. Then ask a qualified integrator to review the signal paths and safety functions for the complete cell.
A Safety-Circuit Fault Appears
A safety-related alarm can indicate a fault that requires professional inspection.
Record the error message and the conditions that caused it. Then follow the machine manual and the site’s procedures.
Do not repeatedly clear safety faults without finding the underlying cause.
What to Record in an Injection Molding Machine Emergency Stop Checklist
A clear checklist helps operators and maintenance staff understand what happened during a test.
| Check Item | What to Record |
|---|---|
| Machine identification | Model, serial number, and location |
| Emergency stop device | Position and label |
| Button condition | Visible damage or mounting problems |
| Test method | Approved procedure used |
| Expected response | Result stated by the manufacturer |
| Observed response | Actual machine behavior |
| Reset behavior | Whether the documented reset process worked |
| Restart behavior | Whether a separate start action was required |
| Faults | Alarm messages or unusual behavior |
| Follow-up | Corrective action and approval |
The checklist should reflect the actual machine. In addition, do not add a fixed stop-time limit unless the applicable specification or validated test procedure sets one for that equipment.
How Often Should an Injection Molding Machine Emergency Stop Be Checked?
The correct inspection interval depends on the machine, the manufacturer’s instructions, the factory’s risk assessment, and local requirements.
Therefore, do not apply one universal schedule to every injection molding machine.
A factory may also need an additional check after maintenance, a safety-system change, a machine relocation, or an incident. In these cases, the relevant procedure should define which functions personnel must verify before returning the machine to normal use.
Keep the inspection schedule and records with the site’s machine safety documents. If the manual does not provide clear guidance, ask the manufacturer or a qualified safety specialist to define an appropriate plan.
Relevant Injection Molding Machine Safety Standards
ISO 13850 covers the design principles for emergency stop functions on machinery.
As of October 2026, ISO lists ISO 13850:2015 as the published edition and a replacement working draft as under development. Therefore, check the latest adopted edition and the rules that apply in your location. See the official ISO 13850 page and the replacement draft information.
Other standards and local rules may also apply to electrical equipment and safety circuits. The exact requirements depend on the machine, its application, and the market where the factory operates.
For this reason, use this article as a starting point. The machine documents, risk assessment, and qualified personnel must guide the final safety verification.

Frequently Asked Questions
How Do You Test an Injection Molding Machine Emergency Stop?
Follow the manufacturer’s approved procedure. First, identify each device and prepare the work area. Next, activate the device as directed and confirm the expected stop response. Then check reset and restart behavior, and record the result.
Does an Injection Molding Machine Emergency Stop Cut All Machine Power?
Not always. The response depends on the machine’s safety design. An emergency stop does not replace isolation of electrical, hydraulic, pneumatic, or stored energy.
Should the Machine Restart as Soon as the Emergency Stop Is Reset?
Do not assume that it should. The machine’s safety design defines the correct reset and restart behavior. Therefore, follow the operating manual and confirm that the machine cannot restart unexpectedly.
Can I Test an Emergency Stop by Disconnecting Wires?
No. Do not disconnect or short safety circuit wiring as a routine test. Such actions can defeat safety functions or create unexpected movement. Instead, let qualified personnel perform any required fault testing under an approved procedure.
How Often Should an Injection Molding Machine Emergency Stop Be Tested?
Follow the machine manual, workplace risk assessment, maintenance plan, and applicable local requirements. If the manufacturer specifies an inspection interval, use that guidance rather than a generic online schedule.
Does an Emergency Stop Replace Lockout/Tagout?
No. An emergency stop and lockout/tagout serve different purposes. Before maintenance or any work that exposes people to hazardous energy, use the site’s approved energy-isolation procedure.
What Should I Do If an Emergency Stop Test Fails?
Keep the affected machine out of normal service, report the fault, and arrange an inspection by qualified personnel. Never bypass the device to continue production.
Keep Injection Molding Machine Emergency Stop Checks Documented
A successful emergency stop check confirms only the functions covered by the approved test. It does not replace full machine safety validation, maintenance, or energy-control procedures.
For more information, read Haichen’s injection molding machine safety guide. If your production cell also uses a robot, see How to Connect a Robot to an Injection Molding Machine for installation and interface checks before integrated production.
Haichen Yang
Author: Yang, Senior Engineer, Haichen Machinery