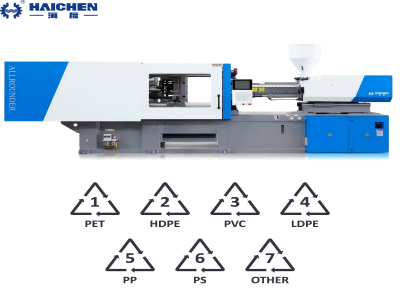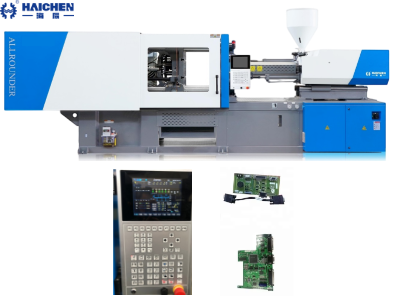
Injection molding machine operation instruction is essential for safe and efficient production. This guide offers effective machine management.
Operating an injection molding machine is a task that calls for sharp attention to detail and a disciplined approach to established protocols, both of which safeguard product quality and prolong machine life.
By honoring these protocols, you not only improve the uniformity of the molded parts, but you also raise the machine’s throughput and trim the amount of time spent idle for repairs.
In the sections that follow, we present a step-by-step blueprint for the proper operation of an injection molding machine, emphasizing critical actions and proven practices.
To reinforce the blueprint, we include quick, practical responses to the most frequently encountered challenges, plus scheduled maintenance routines that place peak performance and machine durability within every operator’s reach.
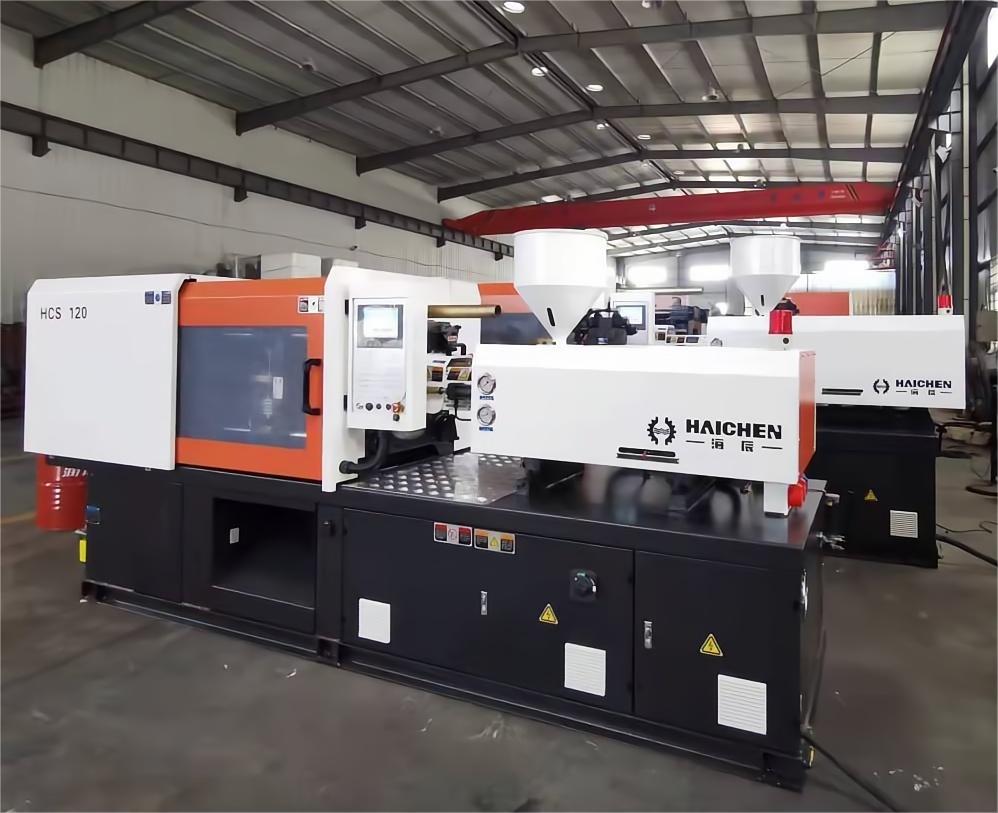
Core Structure and Operating Principle of an Injection Molding Machine
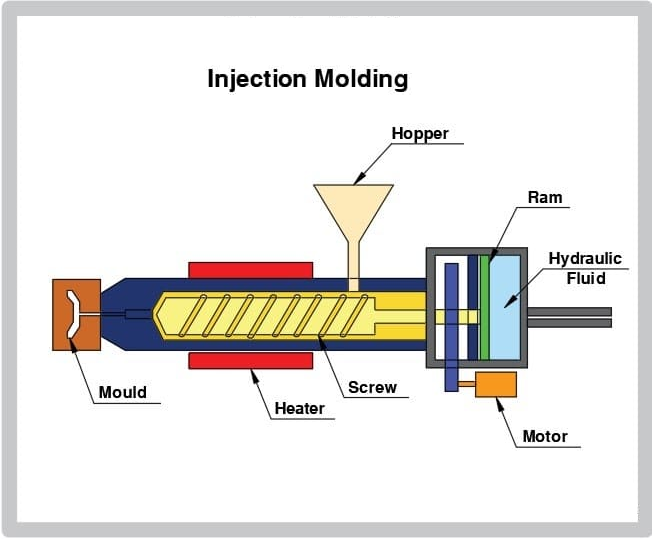
An injection molding machine transforms molten plastic into a uniformly shaped part through a sequence of precise mechanical operations driven by hydraulic, electrical, and thermal subsystems.
Its core architecture integrates seven key systems:
Injection System
- The screw and barrel assembly employs gradual- and sudden-frequency screw variants to adaptively process a variety of polymers.
- The overall process path proceeds through bulk feeding, shear-driven plasticization, metering for consistency, and high-speed injection into the cavity.
Mold Clamping Mechanism
- This high-torque drive unit exerting several thousand kilonewtons of clamping force maintains perfect cavity alignment, preventing flash at the parting line.
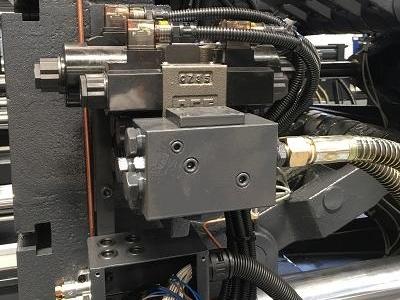
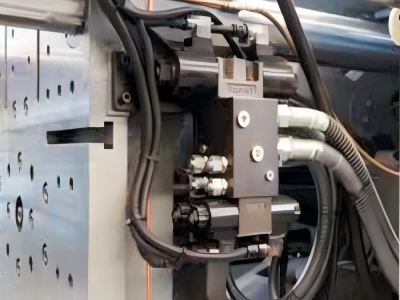
Hydraulic and Electrical Control
- Hydraulic circuits maintaining a nominal pressure of 140 bars deliver closed-loop, energy-efficient force; excess pressure must be compressed carefully to avoid excessive raise in oil temperature.
Auxiliary Systems
- Conformal cooling and barrel heating circuits operate within ±1°C to modulate thermal gradients, thereby tuning the viscous characteristics of the melt; the automated lubrication subnetwork periodically lubricates contact bearings and guide tracks to suppress wear and friction.
- Each subsystem is tightly integrated into a synchronized motion and temperature control architecture monitored through centralized programmable logic control.
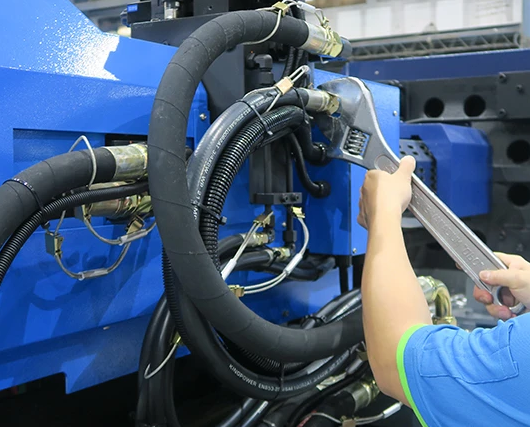
Injection molding machine operation instruction
- Pre-Operation Checks
- Machine Setup
- Starting the Machine
- Production Process
- Post-Production Checks
Pre-Operation Checks
Starting a production run without a thorough check is a risk that can slow everything down later. Performing scheduled pre-operation inspections keeps small issues from snowballing and gets the workday moving smoothly.
- Machine Inspection:Scan the machine for surface dents leaks and ensure that all guards brackets and safety switches are secured and ready to work. Parts that look fit today are the first line against future trouble.
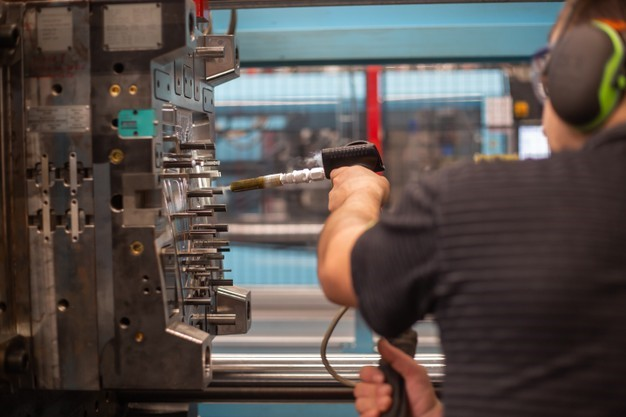
- Mold Inspection:Open the mold and confirm that every cavity is free of residue nicks or rough areas. A quick wipe and visual check save time in finishing and improve the overall surface of the part.
- Material Check:Take a batch of raw pellets and run a visual under the moisture meter or the dryer. Damp material in the feed throat always results in off-weight flash or splay and the follow-up delays add extra hours to the run.
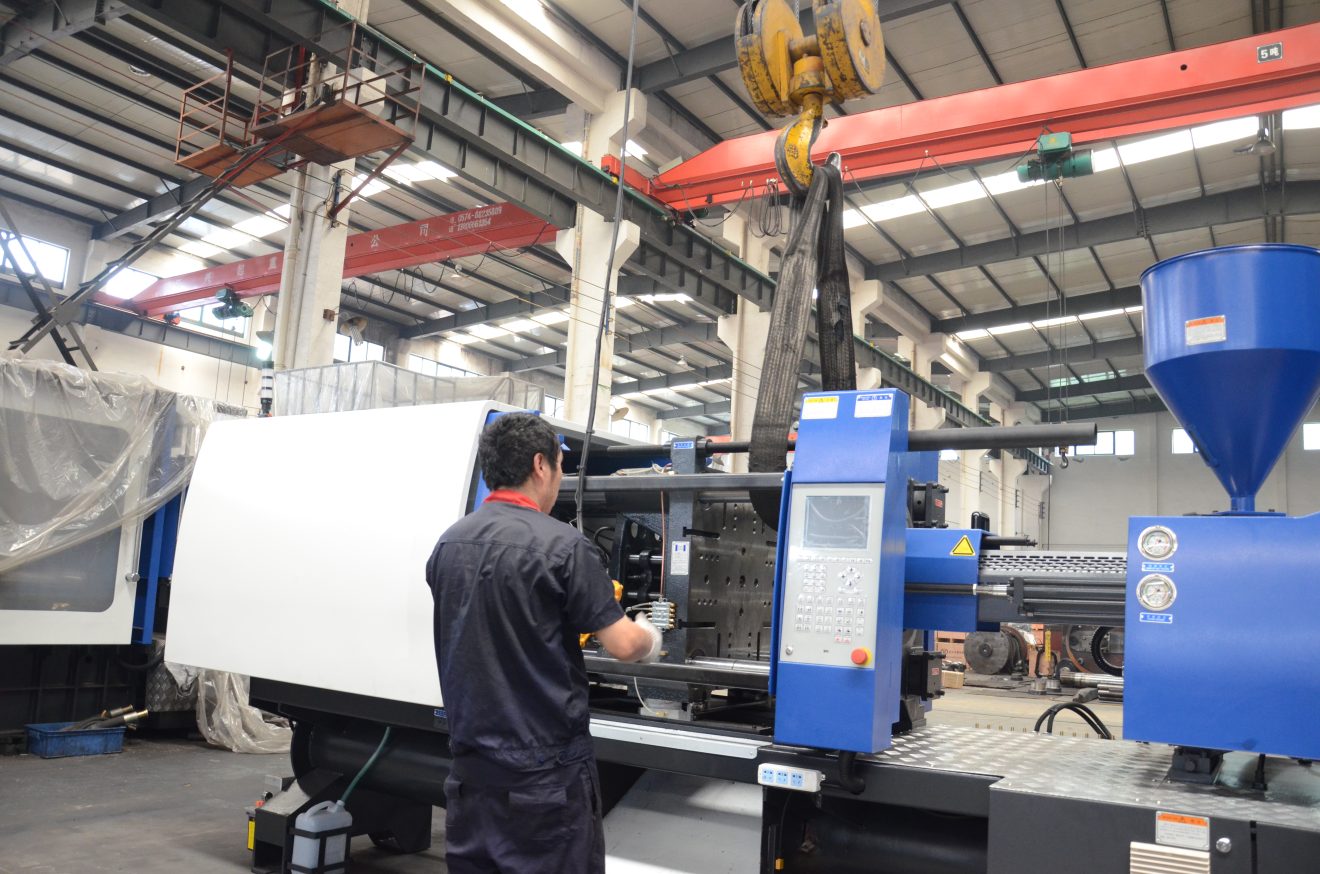
Machine Setup
Executing each setup clearly and in the correct order saves scrap in the first couple of cycles and gets the machine to the same release mode every time.
- Material Loading:Verify that the table under the hopper has the right label and slide the feed unit in. Emptying last shift’s rejects and dust makes ramp-up faster.
- Temperature Settings:Open the controller and dial the feed barrel of the metric material to the correct Celsius setting. Most grades will need a different profile from feed throat nugget to last temp of the injector tip. Filling the table with setup notes helps shift change select the mismatched grades that much faster.
- Injection Speed and Pressure: Adjust the injection speed and pressure settings based on the mold design and material properties. These settings are crucial for achieving consistent part quality.
Starting the Machine
After confirming that the machine has been properly installe, lift the startup sequence. This involves ramping the machine up to its target temperature and verifying the proper operation of every system.
- Heating Up:Initiate heating by activating the main power. Allow the barrel, mold, and any auxiliary zones to climb to their prescribed set points. This warming period may last several minutes, conditioned by the model of the machine and the resin that will be processe today.
- System Check:While the temperature stabilizes, keep the control panel in the sightline. A complete readout of the system will scroll; affirm that each component displays the expected parameter without alarms. One abnormal signal should be investigated and remedied, no matter how minor it seems.
Production Process
Following temperature equilibrium, the machine is ready to commence production. The molten resin will be injecte, cooled in the cavity, and then the final component will be remove.
- Injection:Press the green START key. The control will command the injection unit to push the polymer into the mold at the pre-programmed velocity and pressure, filling the cavity and runner.
- Cooling:The material will remain in the closed mold, transferring heat to the mold inserts to acheive solid-state. Cooling duration is governed by the dimensions and thermal characteristics of the part; the set timer provides a good reference, but observe the cavity temperature to confirm.
- Ejection:After cooling is complete, the machine will signal the mold to separate. The core will recede, and a retracting ejector will pop the part free. Examine the removed component for surface quality, dimensional conformity, and any expected or unexpected anomalies.
Post-Production Checks
After the production run, it is important to conduct post-production checks to ensure the machine is properly shut down and maintained.
- Clean Up: Clean the machine and mold to remove any residual plastic or debris. Proper cleaning helps prevent contamination in future production runs.
- Machine Shutdown: Turn off the machine and allow it to cool down. Ensure all settings are saved and the machine is left in a safe state.
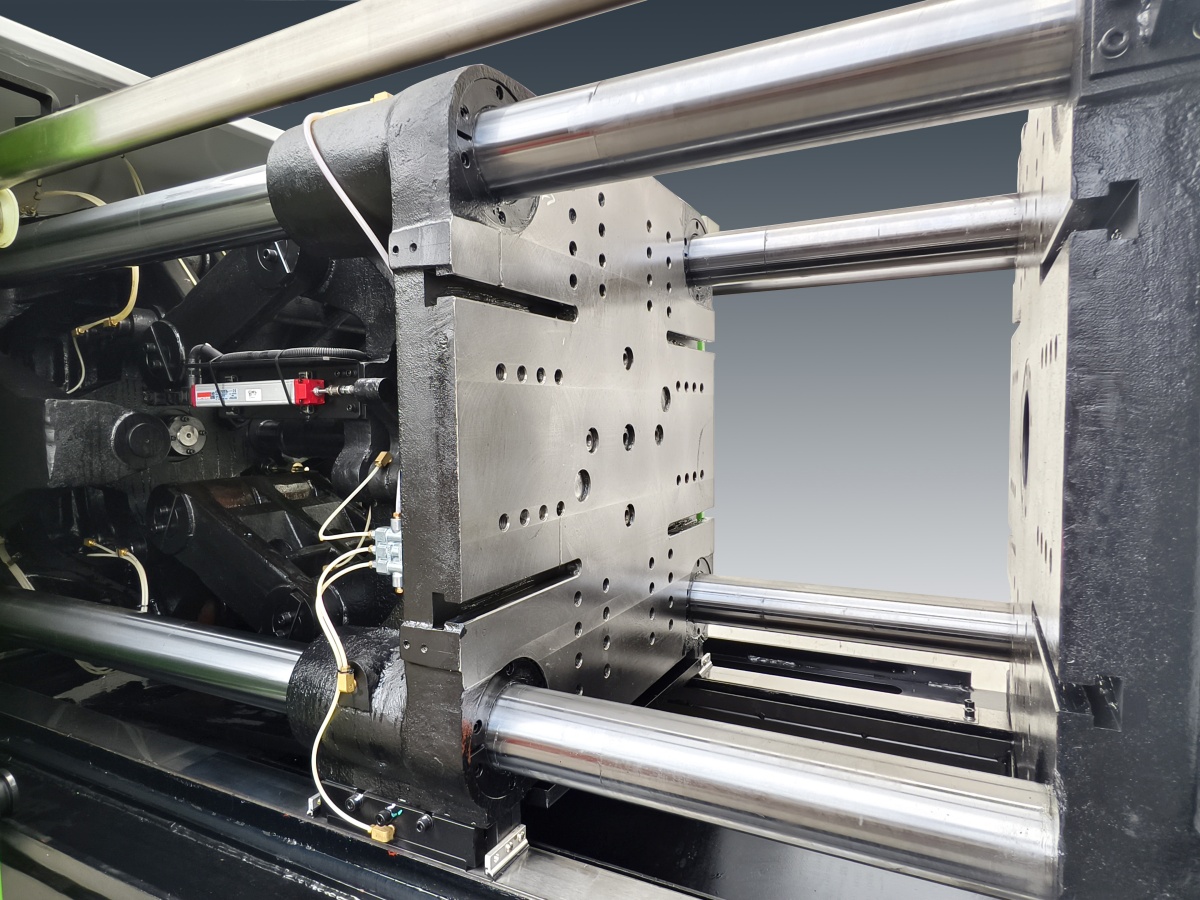
Maintenance Schedule
Frequency | Key Items | Operating Standards |
| Daily | Hydraulic oil level + lubrication | point oil level ≥ 80% |
| Heater coil wiring condition | No looseness or oxidation | |
| Weekly | Oil filter clean | Pressure drop ≤ 0.3 MPa |
| Monthly | Platen parallelism calibration | Deviation ≤ 0.05 mm/m |
| Semi-annual | Hydraulic oil change | ISO VG46 standard oil |
Operating an injection molding machine requires careful preparation, precise setup, and diligent monitoring. By following the steps outlined in this guide, you can ensure a smooth and efficient production process.