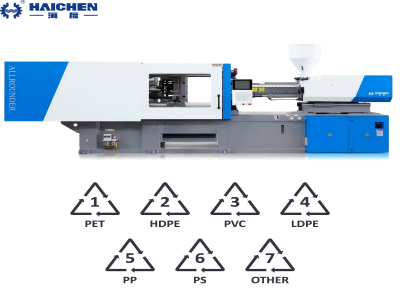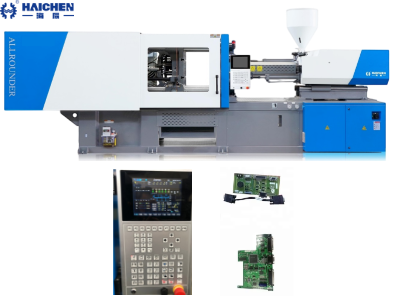
The operation cycle of injection molding refers to the sequence of steps required to produce a plastic part, from mold closure to part ejection.
Injection molding is a process designed for mass-producing parts. While it requires an upfront investment in molds, the price per part can be significantly lower compared to other methods of manufacturing plastic parts.
This cycle repeats continuously for mass production. Below is a detailed breakdown of the stages, along with key factors influencing cycle time:
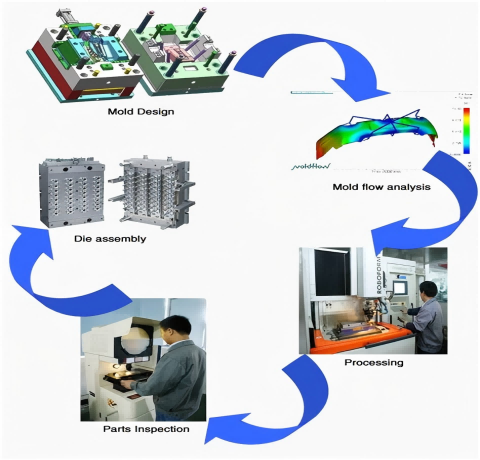
Basic steps for automated injection molding operations
- Clamping Phase
- Injection molding Operation Phase
- Cooling Phase
- Ejection Phase
- Mold Closing (Reset)
- Total Cycle Time
- Injection molding Operation Cycle Optimization Strategies
Clamping Phase
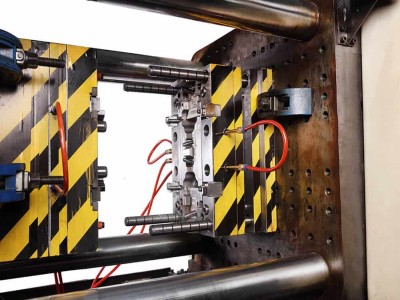
- Purpose: Securely close the mold halves under high pressure.
- Process:
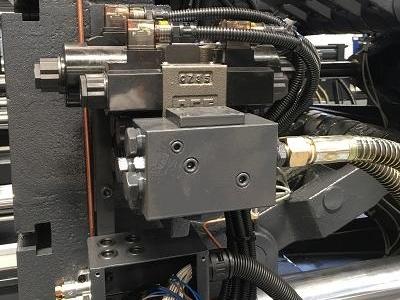
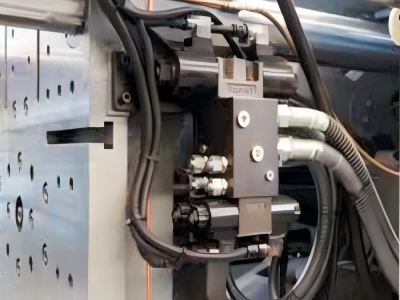
- The hydraulic or electric clamping unit applies force (up to thousands of tons) to hold the mold closed during injection.
- Mold halves (fixed and movable) are aligned to prevent flash (excess material leakage).
- Time: 1–5 seconds (varies with machine size and mold complexity).
Injection molding Operation Phase
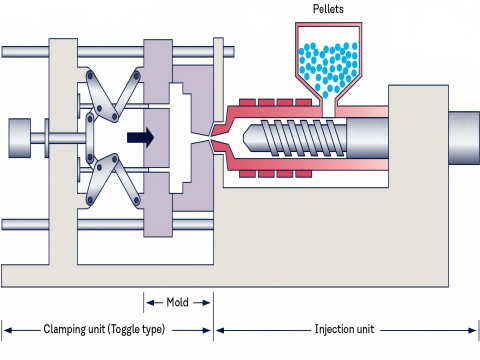
- Purpose: Fill the mold cavity with molten plastic.
- Process:
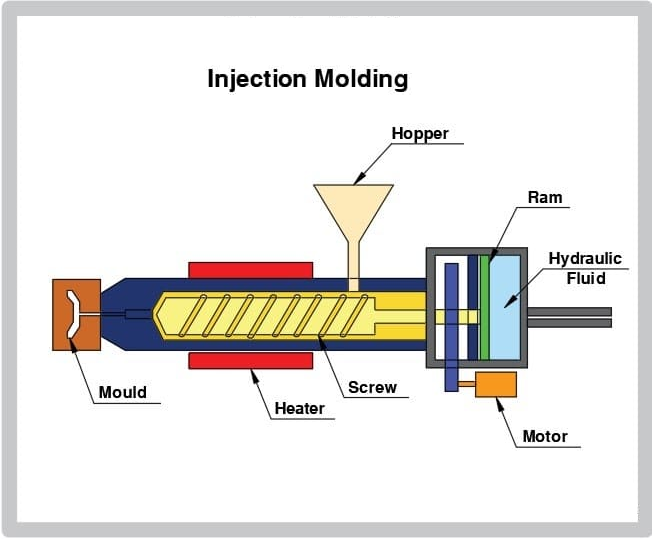
- Plastication: The screw rotates, melting plastic granules in the barrel (heated to 180–300°C, depending on material).
- Injection: The screw acts as a plunger, injecting the molten plastic into the mold at high pressure (500–2,000 bar).
- Packing/Holding: Additional pressure is applied to compensate for shrinkage as the material cools.
- Time: 1–10 seconds (depends on part size and material viscosity).
Cooling Phase
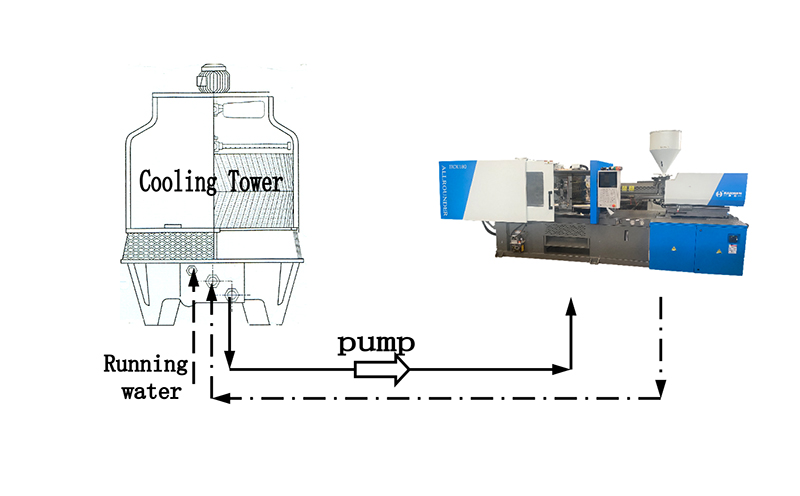
- Purpose: Solidify the molten plastic into the final part shape.
- Process:
- Coolant (water or oil) circulates through channels in the mold to extract heat.
- Cooling time depends on part thickness, material (e.g., PP cools faster than PC), and mold temperature.
- Time: 10–60 seconds (critical for minimizing warpage and defects).
Ejection Phase
- Purpose: Remove the solidified part from the mold.
- Process:
- The mold opens, and ejector pins/plates push the part out.
- Robots or conveyors often handle part removal in automated systems.
- Time: 1–5 seconds.
Mold Closing (Reset)
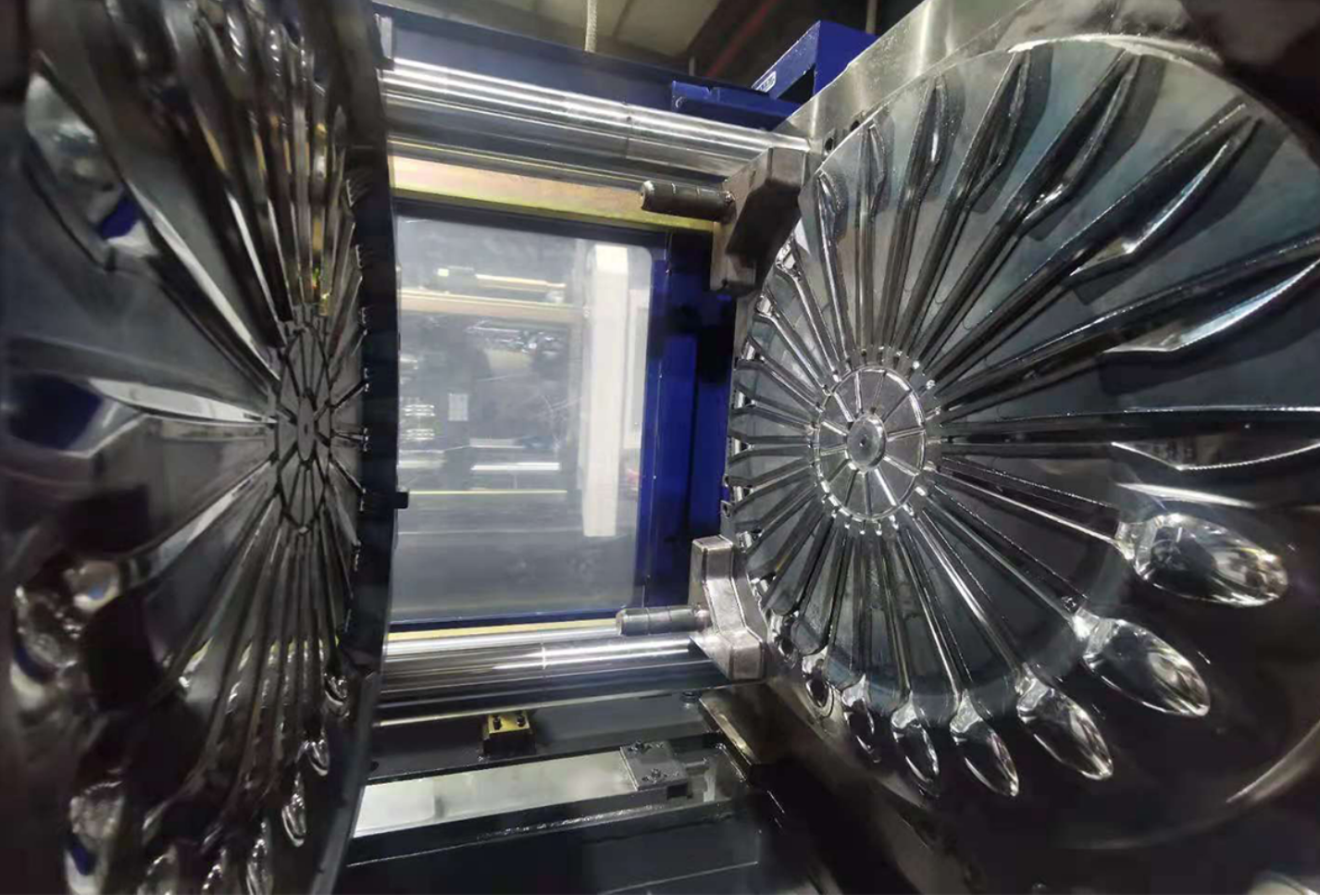
- Purpose: Prepare for the next cycle.
- Process:
- The mold closes, and the screw retracts to prepare for the next shot.
- Resin is fed into the barrel for plastication (overlaps with cooling phase).
- Time: 1–3 seconds.
Total Cycle Time
- Typical Range: 15–120 seconds per cycle.
- Key Factors:
- Part Design: Thicker walls require longer cooling.
- Material: Amorphous plastics (e.g., ABS) cool faster than semi-crystalline (e.g., PE).
- Mold Design: Conformal cooling channels reduce cooling time.
- Machine Efficiency: Electric machines often have faster cycles than hydraulic ones.
Injection molding Operation Cycle Optimization Strategies
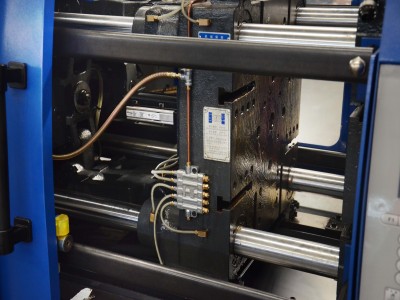
- Reduce Cooling Time: Use high-conductivity mold materials (e.g., copper alloys).
- Automate Ejection: Integrate robots for faster part removal.
- Overlap Phases: Plastication occurs during cooling to save time.
- Optimize Injection Speed/Pressure: Prevents defects like short shots or sink marks.
Example Cycle Breakdown
| Phase | Time (Seconds) | Description |
|---|---|---|
| Clamping | 3 | Mold closes and locks. |
| Injection | 5 | Molten plastic fills the cavity. |
| Cooling | 30 | Part solidifies. |
| Ejection | 2 | Part is ejected. |
| Mold Reset | 2 | Mold closes for the next cycle. |
| Total Cycle | 42 | Typical for a medium-sized ABS part. |
Importance of Cycle Time
- Cost Efficiency: Shorter cycles = higher production rates.
- Quality Control: Proper cooling and packing prevent defects.
- Energy Use: Optimized cycles reduce power consumption (e.g., electric machines save ~60% energy vs. hydraulic).
What is the injection molding process cycle?
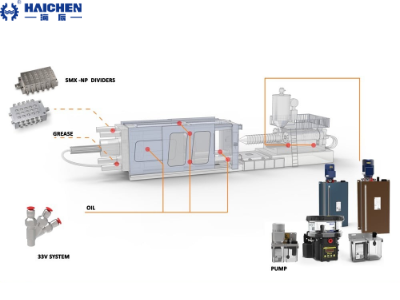
The injection molding process cycle is a sequence of steps that transforms raw plastic material into a finished part. It is a highly automated and repeatable process, optimized for high-volume production. Below is a detailed breakdown of the cycle stages, their purpose, and key factors affecting efficiency:
- Clamping Phase
- Injection Phase
- Cooling Phase
- Ejection Phase
- Reset Phase
Clamping Phase
Purpose: Secure the mold halves (fixed and moving) under high pressure to prevent leakage during injection.
Process:
- Hydraulic or electric clamping units apply force (up to thousands of tons) to hold the mold closed.
- Time: 1–5 seconds (depends on machine size and mold complexity).
Injection Phase
Purpose: Fill the mold cavity with molten plastic.
Process:
- Plastication: The rotating screw melts plastic granules in the barrel (heated to 180–300°C, depending on material).
- Injection: The screw acts as a plunger, injecting molten plastic into the mold at 500–2,000 bar pressure.
- Packing/Holding: Additional pressure compensates for material shrinkage as the plastic cools.
Time: 1–10 seconds (varies with part size and material viscosity).
Cooling Phase
Purpose: Solidify the molten plastic into the final shape.
Process:
- Coolant (water or oil) circulates through mold channels to remove heat.
- Cooling time depends on material type (e.g., PP cools faster than PC) and part thickness.
Time: 10–60 seconds (critical for preventing warping and defects).
Ejection Phase
Purpose: Remove the solidified part from the mold.
Process:
- The mold opens, and ejector pins/plates push the part out.
- Robots or conveyors often automate part removal.
Time: 1–5 seconds.
Reset Phase
Purpose: Prepare the machine for the next cycle.
Process:
- The mold closes, and the screw retracts to prepare for the next shot.
- Fresh material is fed into the barrel (overlaps with cooling phase).
Time: 1–3 seconds.
Total Cycle Time
- Typical Range: 15–120 seconds per cycle.
- Key Influencing Factors:
- Part Design: Thicker walls require longer cooling.
- Material: Semi-crystalline plastics (e.g., PE) cool slower than amorphous plastics (e.g., ABS).
- Mold Design: Conformal cooling channels reduce cooling time.
- Machine Type: Electric machines (faster) vs. hydraulic machines (slower).
Example Cycle Breakdown
| Phase | Time (Seconds) | Key Activity |
|---|---|---|
| Clamping | 3 | Mold closes and locks. |
| Injection | 5 | Molten plastic fills the cavity. |
| Cooling | 30 | Part solidifies. |
| Ejection | 2 | Ejector pins push out the part. |
| Reset | 2 | Mold closes, screw retracts. |
| Total Cycle | 42 | Typical for a medium-sized ABS part. |
Cycle Optimization Strategies
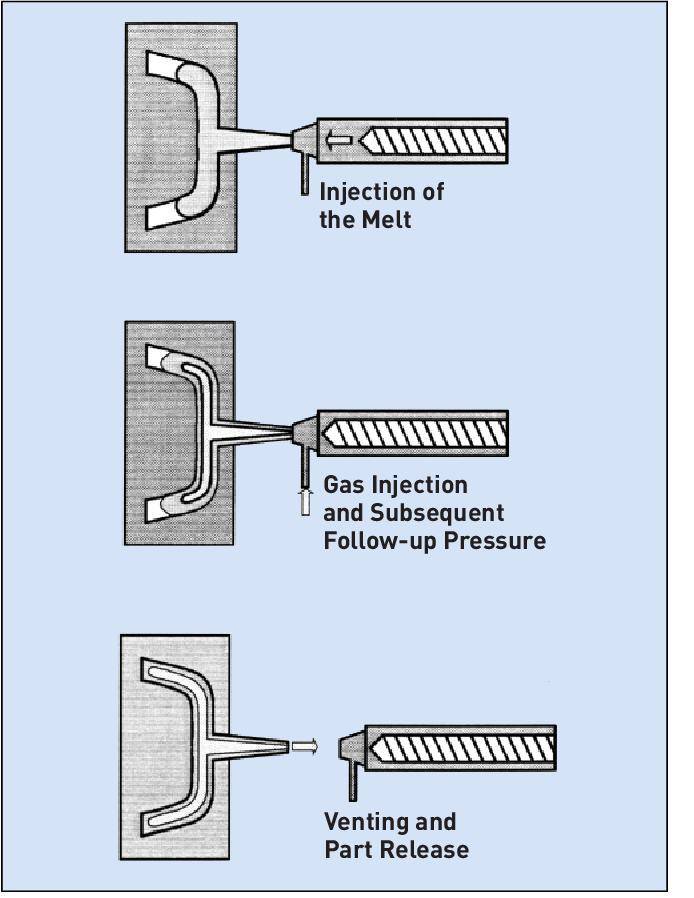
- Reduce Cooling Time:
- Use high-conductivity mold materials (e.g., copper alloys).
- Implement conformal cooling channels (3D-printed molds).
- Automate Ejection:
- Integrate robots for faster part removal and stacking.
- Overlap Phases:
- Plastication (melting) occurs during cooling to save time.
- Optimize Injection Parameters:
- Adjust pressure, speed, and temperature to avoid defects like short shots or sink marks.
Importance of Injection molding Operation Cycle Time
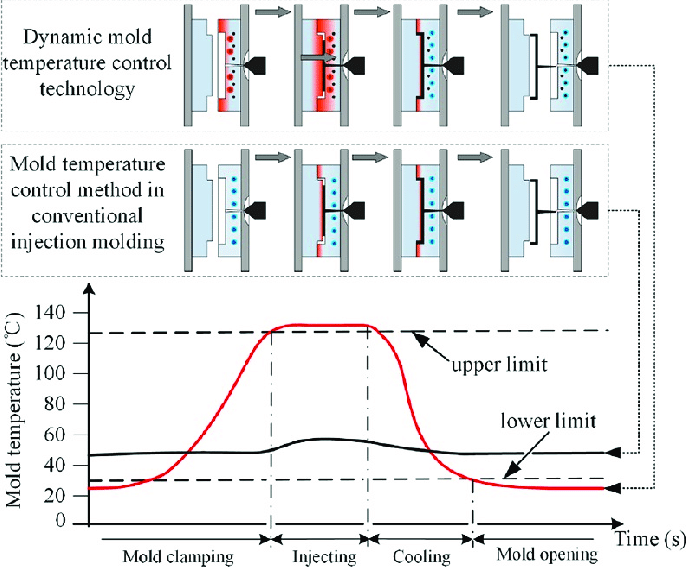
- Cost Efficiency: Shorter cycles = higher production rates.
- Quality Control: Proper cooling ensures dimensional accuracy.
- Energy Savings: Electric machines use ~60% less energy than hydraulic systems.
Common Defects & Solutions
| Defect | Cause | Solution |
|---|---|---|
| Warping | Uneven cooling | Optimize cooling channels. |
| Flash | Insufficient clamping | Increase clamping force. |
| Sink Marks | Inadequate packing | Extend packing time/pressure. |
Advanced Innovations
- IoT Monitoring: Real-time sensors track pressure, temperature, and cycle consistency.
- AI-Driven Optimization: Machine learning adjusts parameters dynamically for peak efficiency.
By mastering the injection molding cycle, manufacturers achieve faster production, lower costs, and consistent part quality.

Proper training, mold design, and machine maintenance are critical for long-term success.
Contact Haichen to learn more details about injection molding automation cycle.