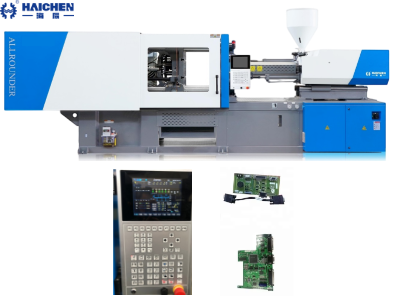
The installation of the mold platen in injection molding involves precisely positioning and securing the mold halves onto the machine’s platens, ensuring proper alignment and clamping force for accurate part production.
Proper mold platen installation is important in the setup of an injection molding machine.
Precise installation prevents damage and maintains the efficiency of the machine and prolongs part quality.
Operation and the efficiency of the machine is maintained with the proper installation of the mold platen.
In this article, we will inform the reader with the proper installation of the platen and the injection molding machine.
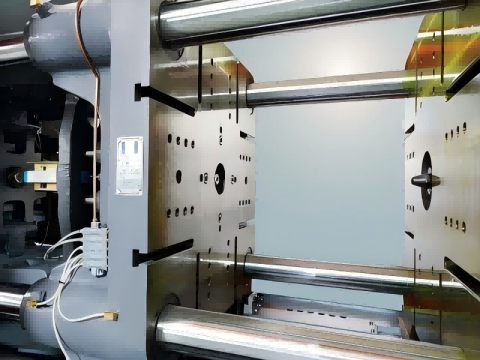
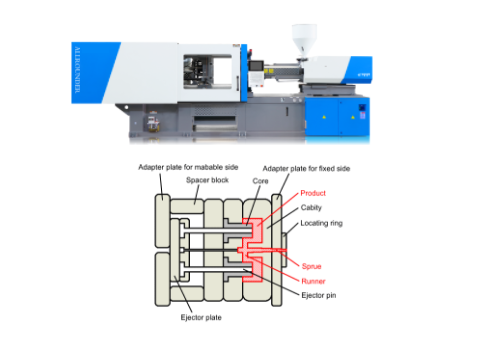
Mold plate structure and function
In an eight plate structure, the mold plate system is compose of numerous functional templates. The parts will be described in order.
- The upper fixed plate is connect to the injection molding machine and the fixed mold plate.
- The upper plate is a cavity plate, it possesses the outer surface of the molded product and also features the cooling water channels.
- The lower part is the core plate and cooperates with the upper to mold the product and serves as the inner surface.
- It is also known as the square iron, it supports the ejector plate and is necessary for the stroke ejection.
- The group of ejector plates is upper lower repeater and give motion to the ejection system.
- Finally the lower fixed plate is the last part which connects with the injection mold platen.
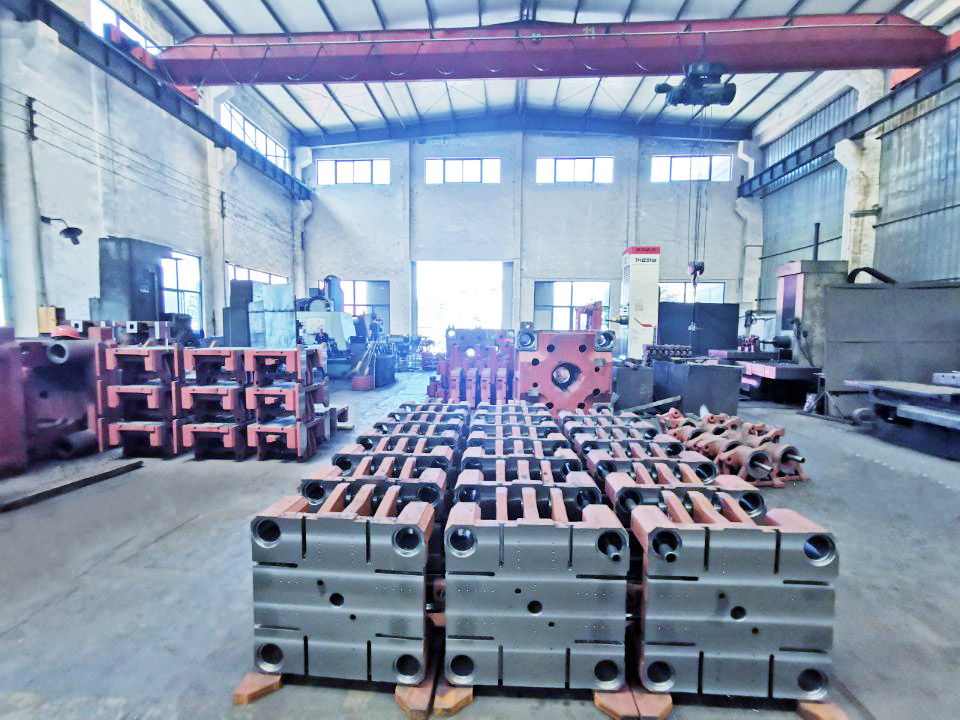
Pre-Installation Preparation
Mold Inspection
- Appearance: Look for fissures or any signs of deformation, particularly around the guide pin holes.
- Dimensions: Check the thickness of the mold plate and note whether the positioning holes align with the injection molding machine.
- Cleaning: Oil and debris must be removed, and in the case of mold release agents, only non-waste oil should be used.
Equipment and Environment Preparation
- Set the injection molding machine to manual, open the mold to maximum stroke.
- Ensure the workbench is leveled and position safety markers in the installation zone.
- Tools: Laser level, torque wrench, lifting fixture.
Technical Briefing
- Familiarity with the mold drawings, the schematic of the support structure, and the instructional guide for the emergency procedures is mandatory for all operators.
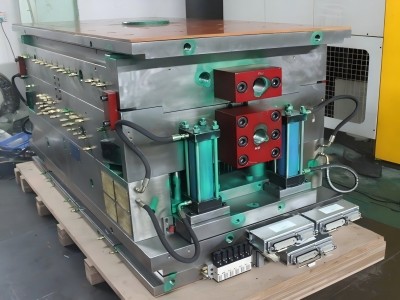
Installation, Alignment, and Fixing Procedure
Lifting into place
- Lifting Into Position To avoid damage to the tie rod and nozzle, the mold must be lift slowly and steadily with a lifting device.
- First, the fixed mold plate should be connect to the fixed mold mounting plate on the injection molding machine, and the position.
Preliminary fixation
- Use pressure plate and bolt to secure the fixed mold side with flat and spring washer bolt pairs while leaving the bolts loose to permit adjustment.
Moving mold alignment calibration
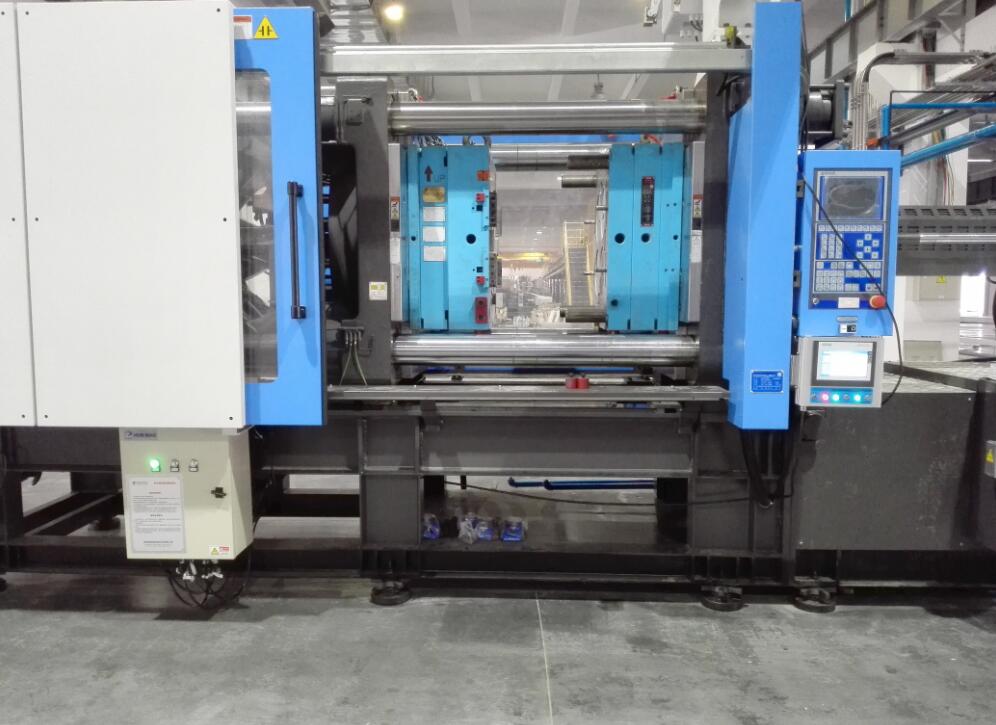
- Begin by activating the oil pump and jogging the closed position until the moving mold plate just makes contact with the mold.
- Nozzle Calibration Alignment: The nozzle is fitted to the paper plate and aligned when a complete circular hole with no ellipses or notches is cut out.
Fully tightened
- Symmetrically tighten the fixed and moving mold bolts. The pressure plate pad height should be flush with the mold foot.
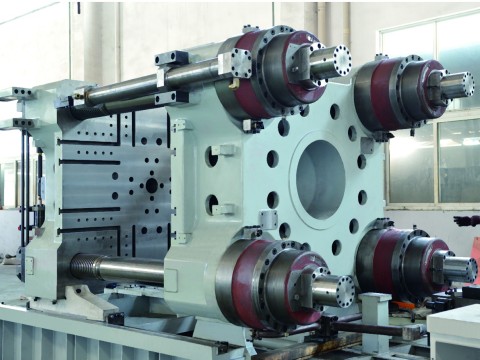
- For larger molds, support columns should be installed to prevent the mold from bending during the injection process.
Key System Debugging Standards
Ejector Mechanism
- Ejector Stroke Adjustment: Maintain a gap of no less than 5mm from the ejector plate to the movable mold base to avoid damage to the mold.
- Ejector Pin Gap: Maintain a gap of 0.05-0.08mm to enable free movement.
Cooling/Hydraulic Piping
- Validate the temperature and oil lines by checking the valves after performing pressure tests following water line connections to identify possible leaks.
Mold Closing Accuracy Calibration
- Verticality: Deviations should be no more than 2mm per meter, tested with a laser line projector.
- Mold Closing Tightness: Test the sensitivity for low-pressure protection by placing A4 paper at the boundary; no indentation is the pass mark.
Safety regulations and fault prevention
Mandatory safety measures
- Stay away from the mold during lifting.
- Protective covers, limit switches, and emergency stop button function tests must be install.
Common fault solutions
| Fault type | Cause analysis | Solution |
| Template bending | Insufficient strength of steel plate | Replace with 45 steel and add support columns |
| Guide column offset | No positioning key set on the parting surface | Add high-strength positioning key |
| Ejector rod leakage | Too large clearance between ejector rod holes | Grind ejector rod and keep 10-15mm matching section |
| Mold closing is not parallel | The bottom surface of the template is not leveled | Re-level and check the levelness |
Post-installation Verification and Recording
Mold Trial Standards
- Mold Trial Criteria Low-speed dry run: It ensures that mold opening, closing and ejection is perform smoothly.
- First-article inspection: Flash and Dimensional tolerances are maintained within ±0.1mm.
Document Management
- Maintains records of the installation date, parameters of the mold adjustment, and the operator.
- Records the mold identification number and the equipment model that is applicable.
Systematic projects like mold plate installation require technical knowledge coupled with thorough adherence to set compliance standards.
Optimization of both straight and I-shaped mold installation methods greatly increases user stability during production by enhancing mold plate rigidity.
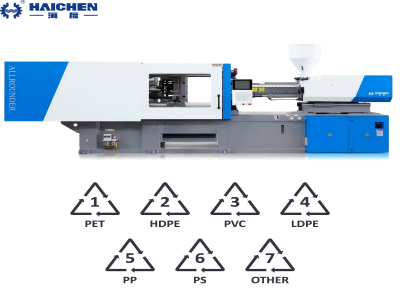
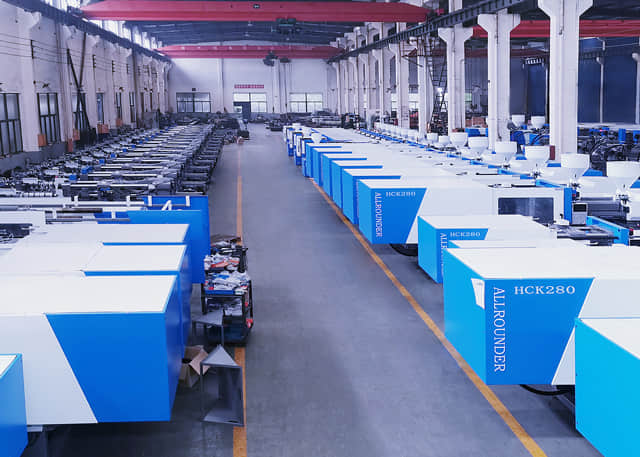
HAICHEN injection molding machines are molds for versatility. Following these practices will greatly aid in increasing installation effectiveness while simultaneously increasing the lifespan of the mold.